The more programs you install on Windows, the more susceptible it is to a long load, ‘hangs’, and possibly various crashes. Many installable programs add themselves or their components to the Windows startup item and over time this list of installed programs can become quite long. This is one of the main reasons why, in the absence of close monitoring of autoloading software, the computer eventually runs slower and slower. Therefore, it is very important to know how to run command for startup programs.
At the stage of development of spamming and viral increasing activity for the authors of such programs, the constant presence of their malicious code in the system configuration plays an enormous influence. In order for these programs to be constantly present in the system, the Windows registry is vital for them. Using the registry as a starting point for the launch, all malicious programs start in the system from there. The user remains virtually unprotected in front of such a danger, because there are so many places in the registry to run at all stages of the operating system boot.
However, knowing where to start this or that code, which works in both user mode and kernel mode, can be useful not only for removing malware, but also for excluding third-party drivers and services loaded from early and late stages of system boot.
This article explains some quick ways to run command for startup programs in Windows remotely across the entire network.
Manually:
1. Execute WMI Query in ROOT\CIMV2 Namespace:
- Launch WMI Explorer or any other tool which can run WMI queries.
- Run WMI query: SELECT * FROM Win32_StartupCommand
2. Open WMIC Command-line Interface:
- Press WIN+R
- Type “wmic”, press Enter
- In wmic command line tool type: /node:RemoteComputerName startup
3. Run This Simple Windows Powershell Script:
Thru WMI object: Get-WmiObject -Namespace ROOT\CIMV2 -Class Win32_StartupCommand -Computer RemoteComputerName
4. Use Following Code to Select Specific Columns:
Execute: Get-WmiObject -Namespace ROOT\CIMV2 -Class Win32_StartupCommand -Computer RemoteComputerName | Select-Object Name, Command, Location, PSComputerName
5. Sort the Results Using the Line Below:
Invoke command: Get-WmiObject -Namespace ROOT\CIMV2 -Class Win32_StartupCommand -Computer RemoteComputerName | Select-Object Name, Command, Location, PSComputerName | Sort-Object Name
6. The Next Code Helps to Filter Results:
Use it: Get-WmiObject -Namespace ROOT\CIMV2 -Class Win32_StartupCommand -Computer RemoteComputerName | Select-Object Name, Command, Location, PSComputerName | Where-Object -FilterScript {$_.Name -like “OneDrive”}
7. Save Results to CSV File:
Run: Get-WmiObject -Namespace ROOT\CIMV2 -Class Win32_StartupCommand -Computer RemoteComputerName | Select-Object Name, Command, Location, PSComputerName | Export-CSV “c:\file.csv” -Append -NoTypeInformation
8. The Next Step Is to Query Multiple Computers:
Computers from a text file: Get-Content -Path c:\computers.txt | ForEach-Object {Get-WmiObject -Namespace ROOT\CIMV2 -Class Win32_StartupCommand -Computer $_}
Computers from AD domain: Get-ADComputer -Filter {OperatingSystem -Like ‘Windows 10*’} | ForEach-Object {Get-WmiObject -Namespace ROOT\CIMV2 -Class Win32_StartupCommand -Computer $_.Name}
With Action1:
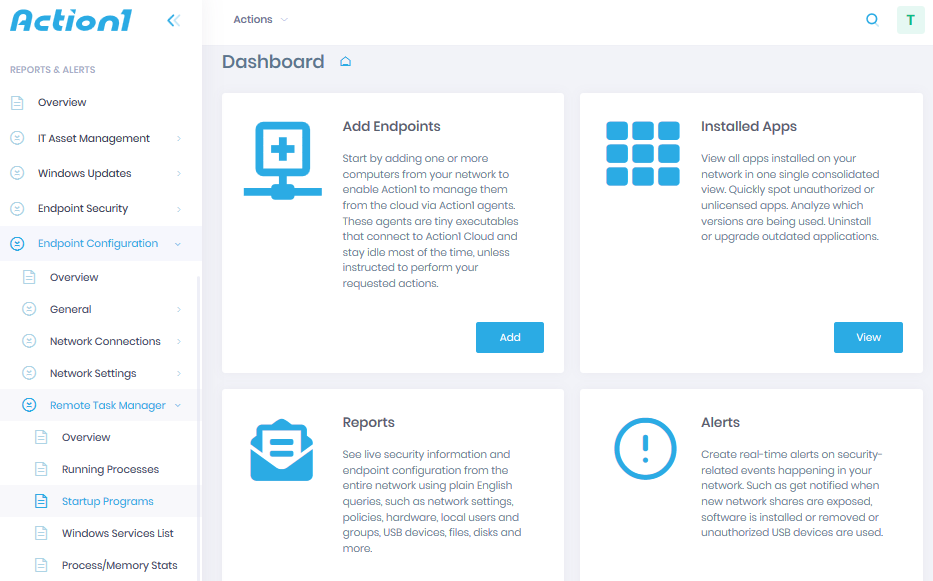
Step 1 — Sign-up for Free:
Get started with Action1, a cloud-based solution for automated patch management, software deployment, software/hardware inventory, endpoint management, and comprehensive reporting.


