Table of Contents:
How to restart computer with PowerShell
How to restart computer remotely with Action1
How to restart computer with command line
Use PowerShell to Restart a Computer
Use Powershell to Restart a List of Computers in Your Company Network
This command is handy if you have several computers to restart. Just list all the computers you want in a text file and add that to the PowerShell command below:
restart-computer (get-content c:\work\computers.txt)
How to Restart Remote Computers Using Action1
1. Create an account
Firstly, you would need to create an account at Action1 to get started right away. The registration does not require credit card information.
2. Connect endpoints
Secondly, add endpoints into your network to be able to manage them remotely. To do this, you need to install agents on the endpoints you wish to manage via Action1. The app allows you to add up to 200 endpoints into your network free of any charges and commitments.
3. Restart remote endpoints
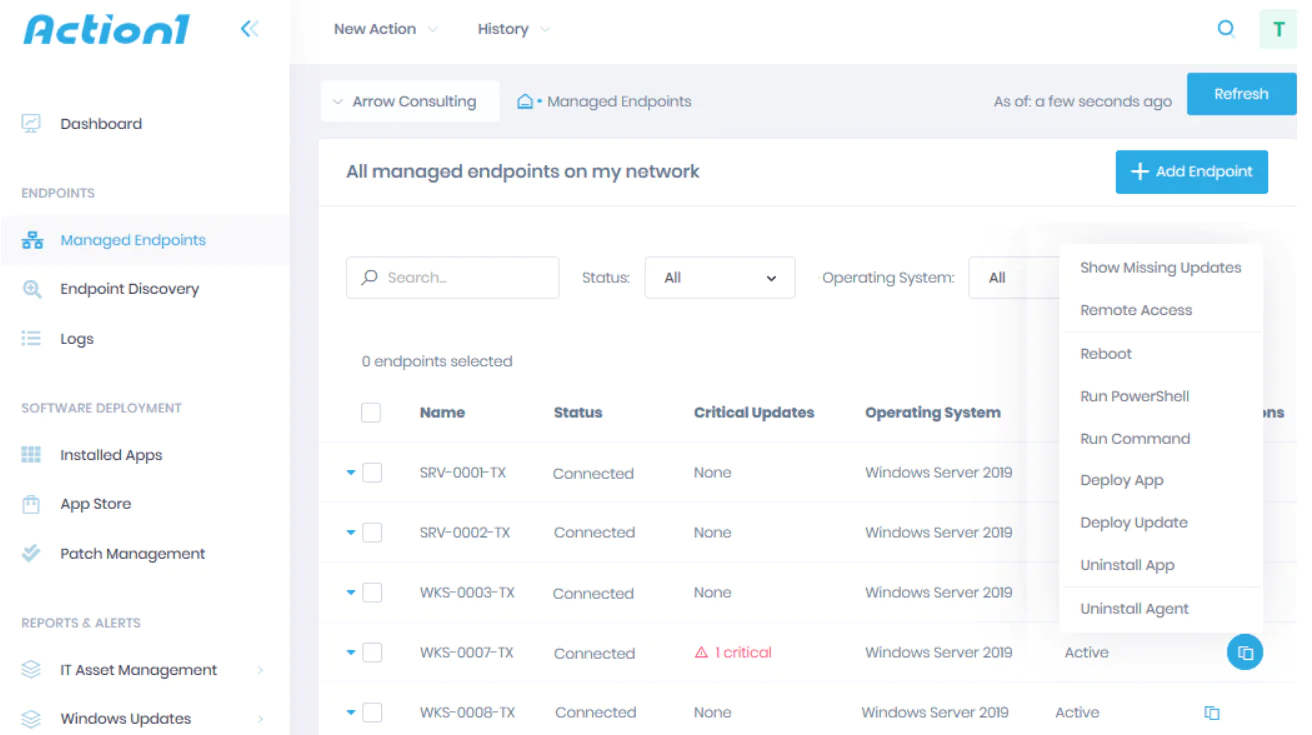
- Navigate to the Managed Endpoints page.
- Locate the endpoint(s) you want to restart and select Reboot.
Note:Alternatively, click the locations in the Actions column and select Reboot. Or click New Action on top of the page and select Reboot from the drop-down list.
Complete the wizard:
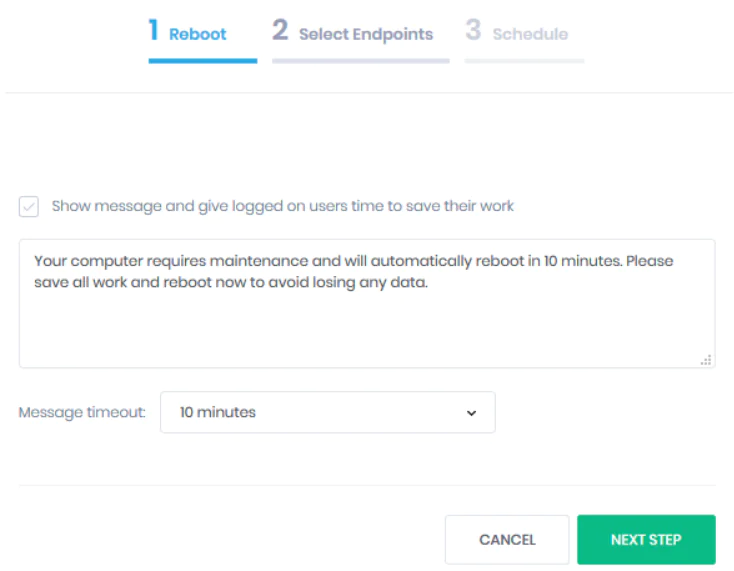
1. On the Reboot step, choose if you want to warn users that a reboot is coming. The notice will appear on their screens before the endpoints restart. You can choose to show a default text or enter any other text. Then, specify the message timeout. Make sure you provide enough time to allow users to save their work and prepare for restart.
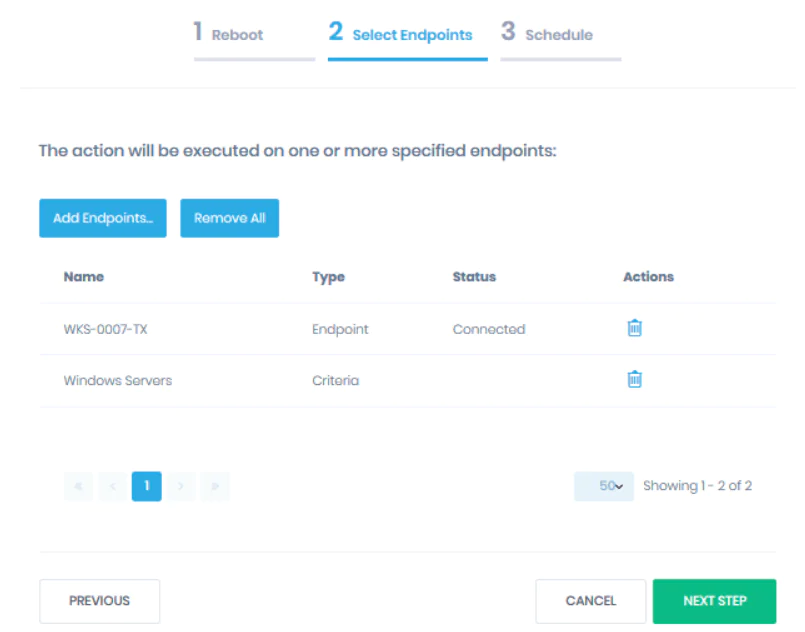
2. On the Select Endpoints step, check the endpoints you plan to reboot. You can include more endpoints by clicking Add Endpoints. Action1 enables you to add endpoints individually, or you can specify criteria such as Windows Server 2019 or Windows Desktop OS.
3. On the Schedule step, review your action and pick the right time to execute it. For example, you can force reboot immediately or schedule obligatory restarts once a week to deliver updates. Once ready, click Finish.
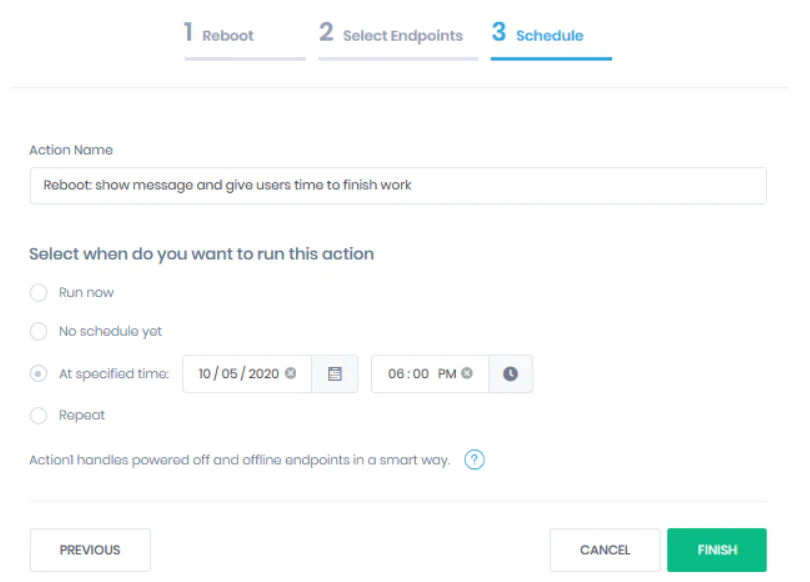
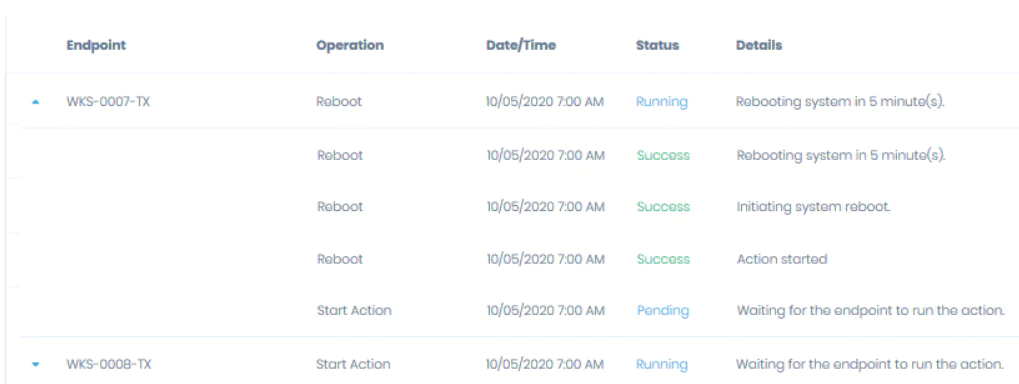
4. After clicking Finish, you’ll find yourself on the Actions/History page. Here, you’ll see the execution details. If you opted not to execute your action yet, you’ll find it waiting for you on the Actions/Scheduled page.

How to Restart a Computer Using the Command Line
1. How to enable remote reboot
To configure the computer you wish to reboot (hereinafter referred to as the remote computer), in the Start menu search bar, type ‘services’ to find the Services utility.
If you don’t see the Services icon, type ‘services.msc’ into the search bar and the Services menu will appear.
![]()
In the R section of the Services menu, scroll down and right click on Remote Registry.
Select the Properties icon.
![]()
Open the start-up drop-down menu located in the middle of the window.
Select Automatic from the drop-down menu.
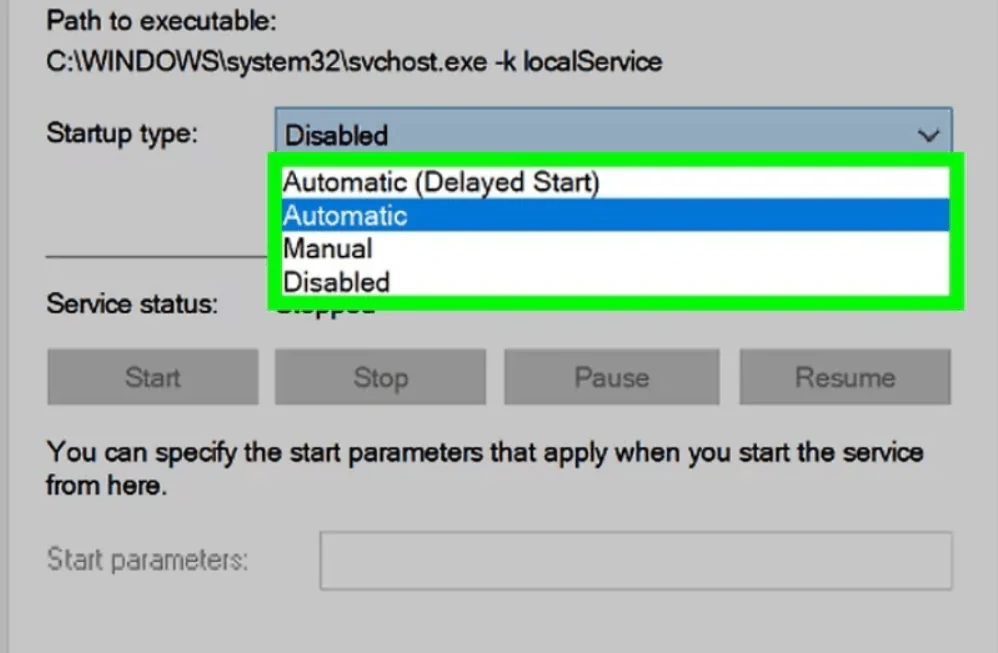
Click OK.
2. How to allow remote reboot in firewall
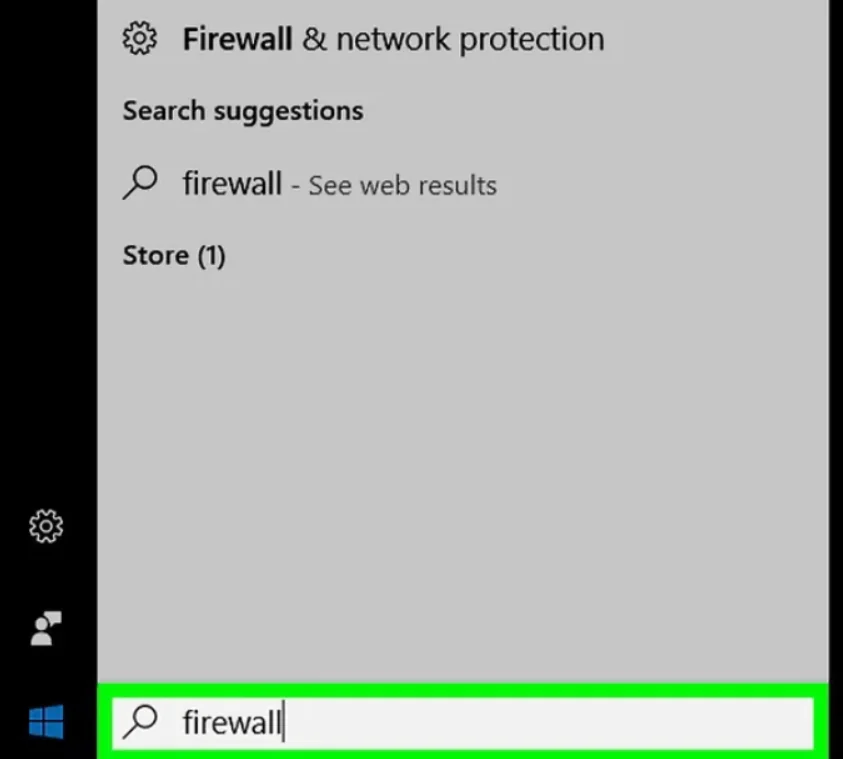
Open the Start menu on a remote computer (not the computer from which the reboot command will be sent).
In the search bar of the Start menu, type ‘Firewall’ to find the Windows Firewall program and click the appeared icon.
Click Allow an app or feature through Windows Firewall. You’ll find it in the upper left corner of the window.
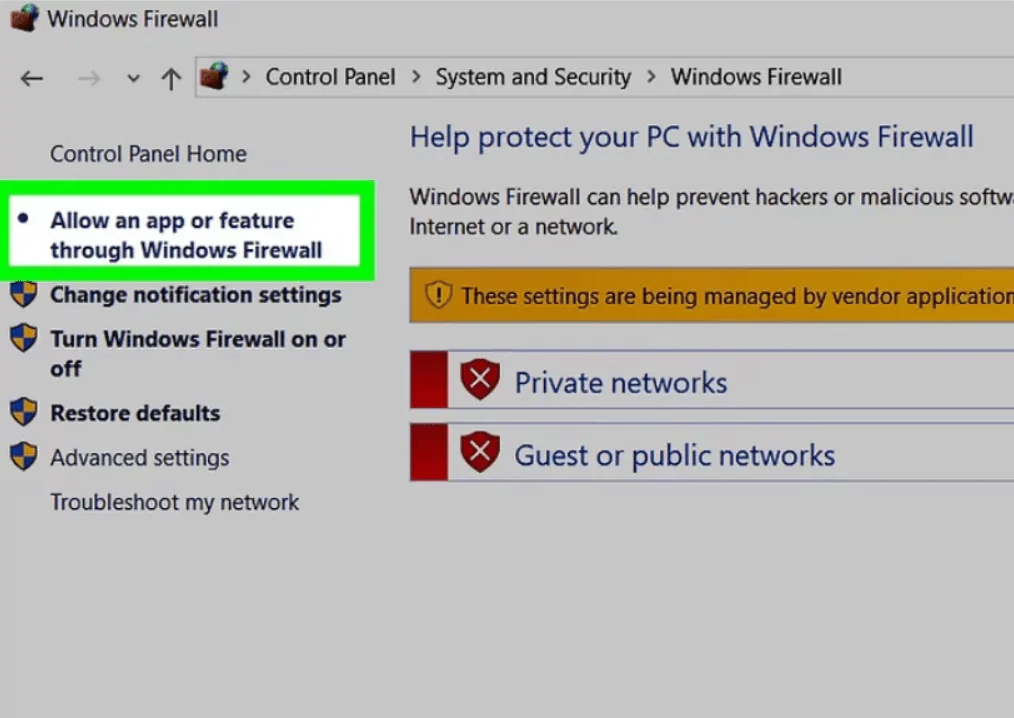
In the upper right corner above the list of programs, click Change Settings. A list of programs will open.
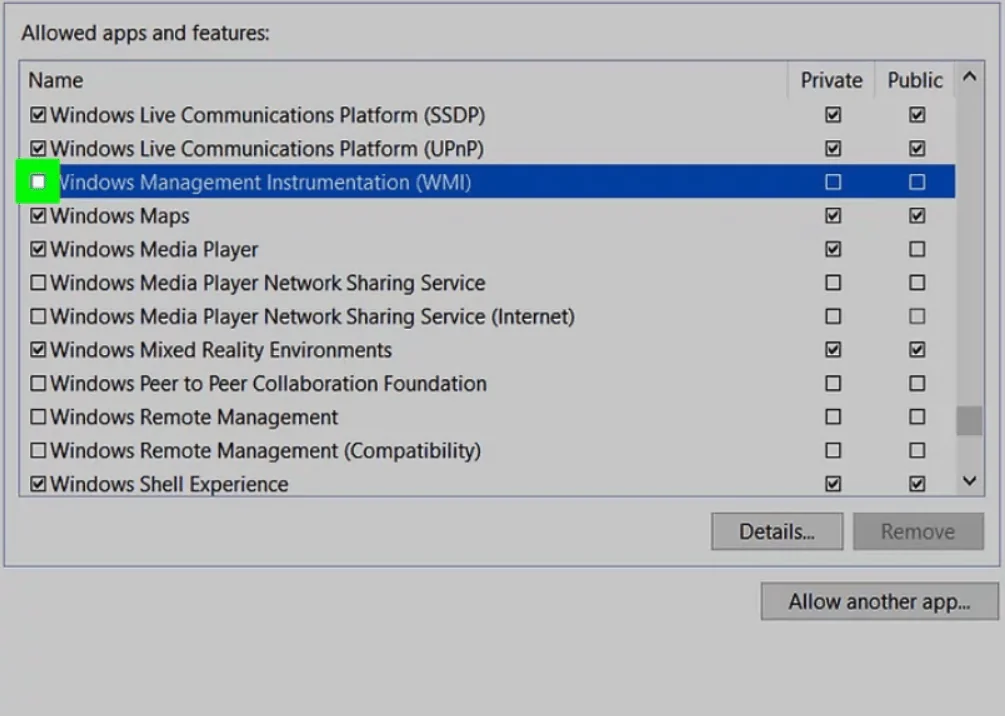
Scroll down to the bottom of the program list and tick the box on the left of Windows Management Instrumentation (WMI).
On the right-hand side of Windows Management Instrumentation (WMI), you’ll see the option to tick either Private or Public. If your computers are connected to a public network, check the box in the Public column and click OK at the bottom of the window.
Now the firewall will not block remote access to the computer.
3. How to find the computer name
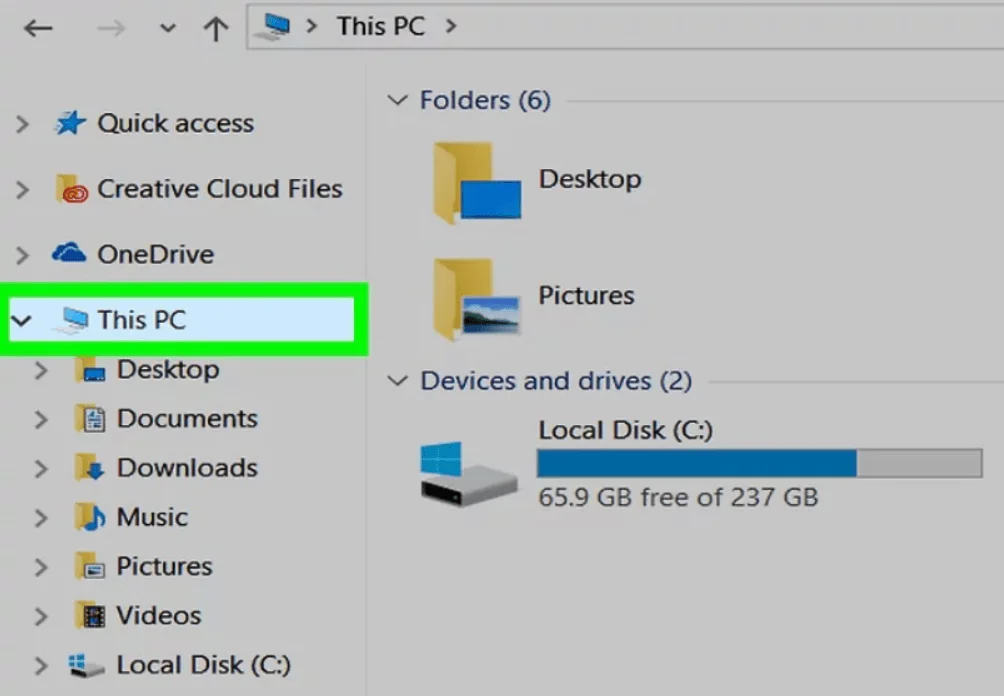
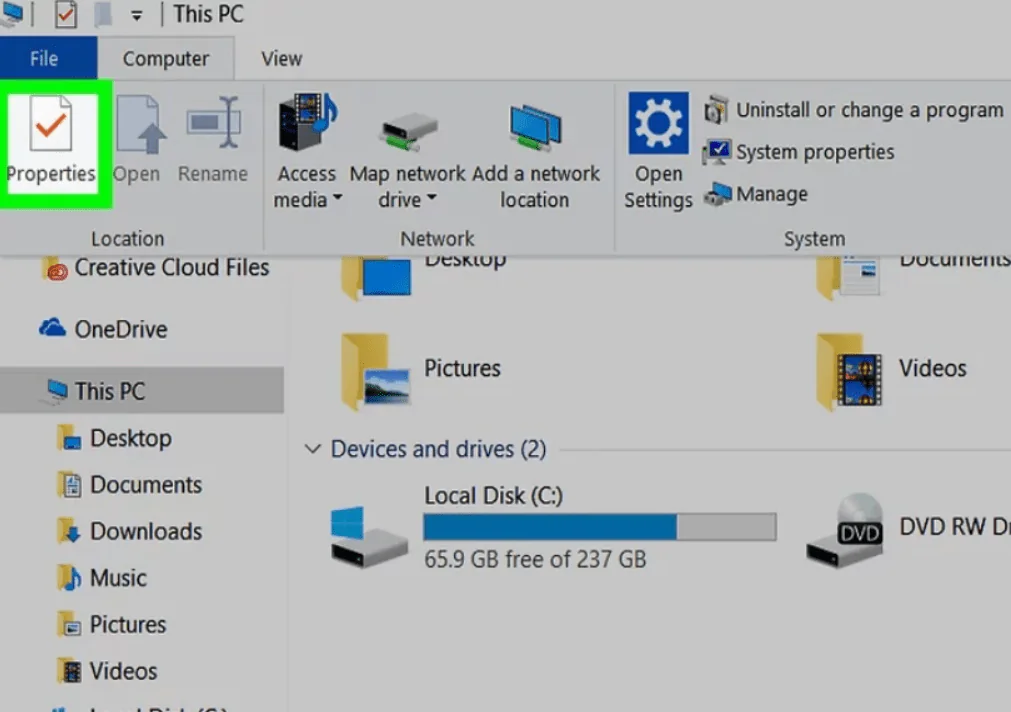
On a remote computer (not on the computer from which the reboot command will be sent) open Windows Explorer and click This PC.
Click the Computer tab in the upper left of the window. The toolbar will open.
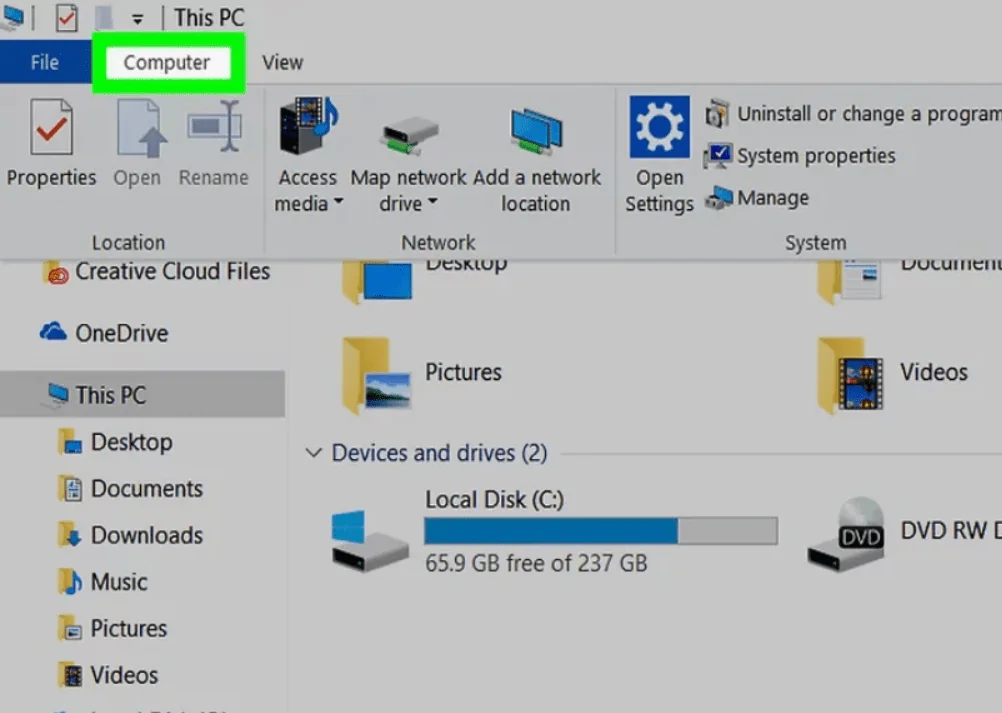
Click Properties. (This is a red checkmark icon on a white background, located on the left side of the toolbar.) The computer settings will open.
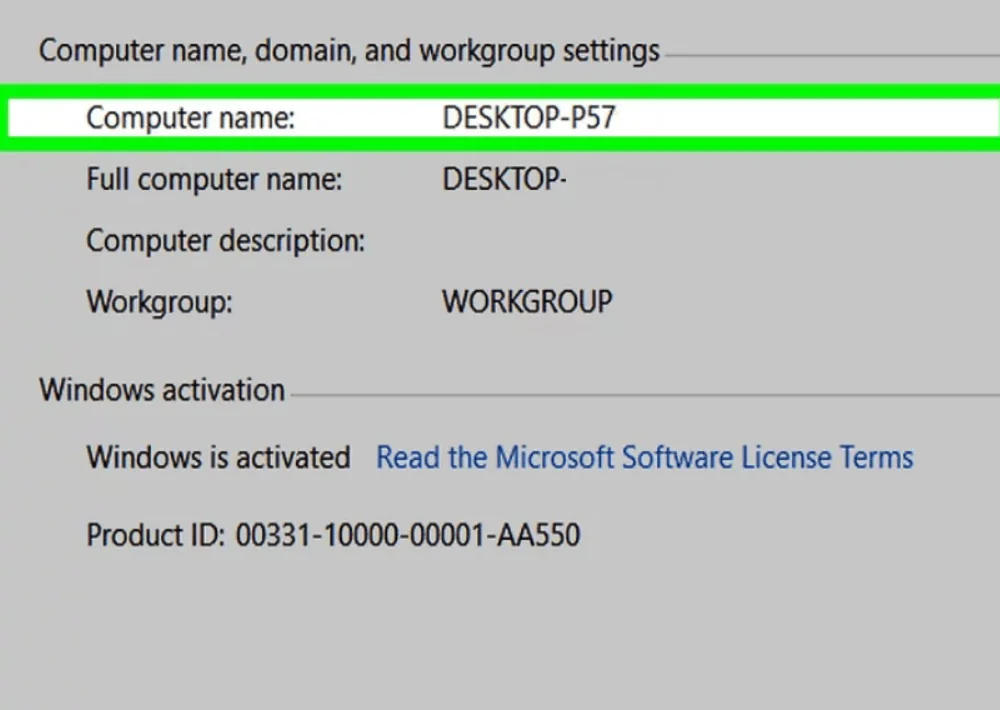
In the middle of the page, you’ll find the name of the computer in the ‘computer name’ line of the Computer name, domain and workgroup section. Write down the name of the computer exactly as it appears here.
4. Restarting a computer using the command line
Sit at another computer. It must be connected to the same network as the remote computer. Log in as an administrator.
Open Command Prompt from the Start menu.
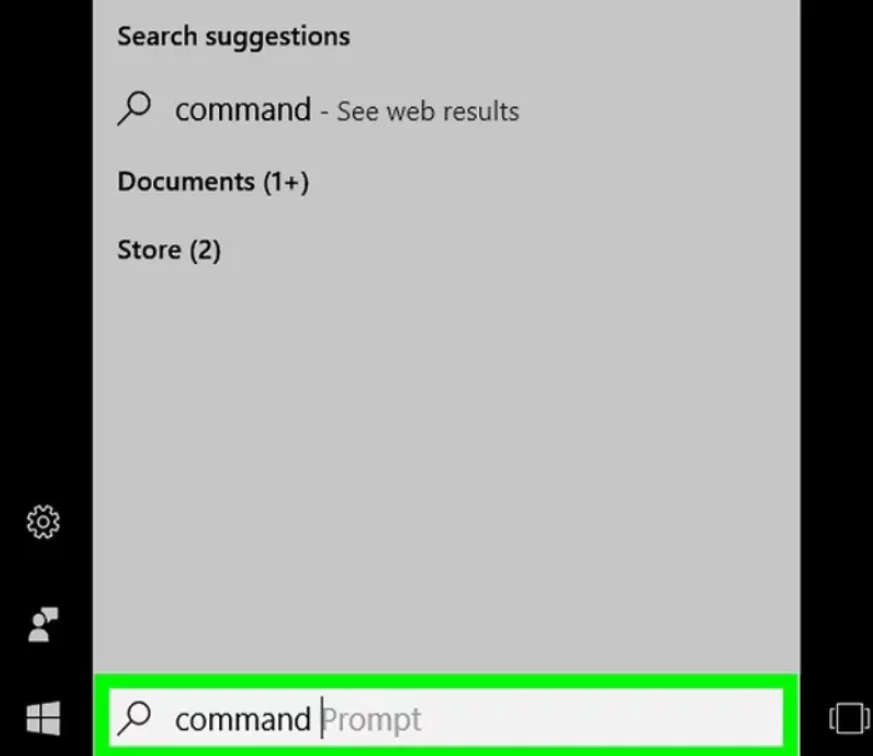
Type ‘shutdown /i’ in the Command Prompt window and then press ↵ Enter. A window will open with the option to restart the remote computer.

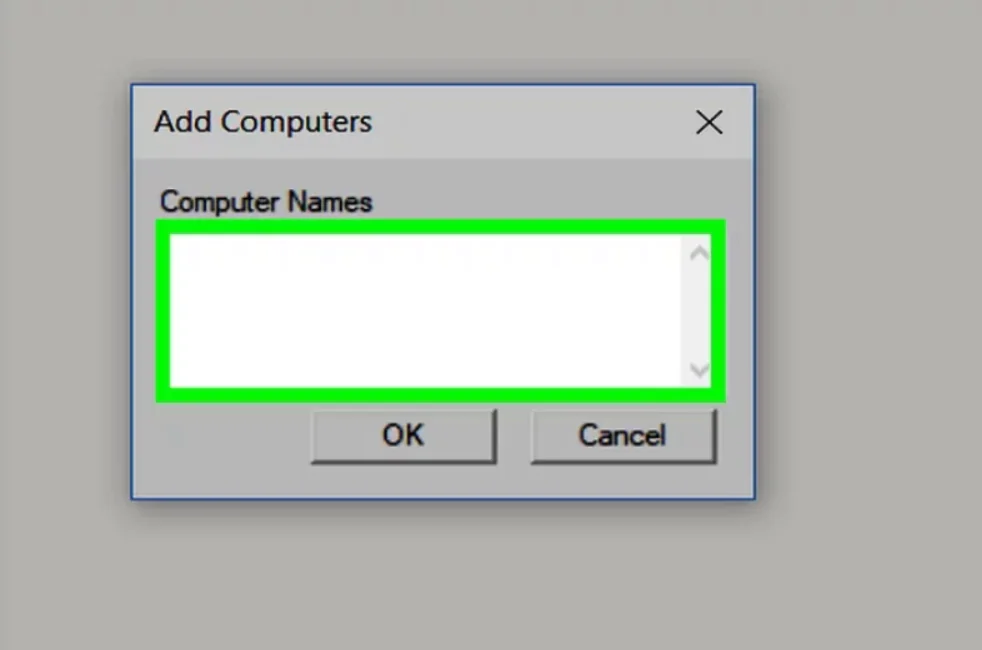
On the right side of the window, click Add. A new window will open.
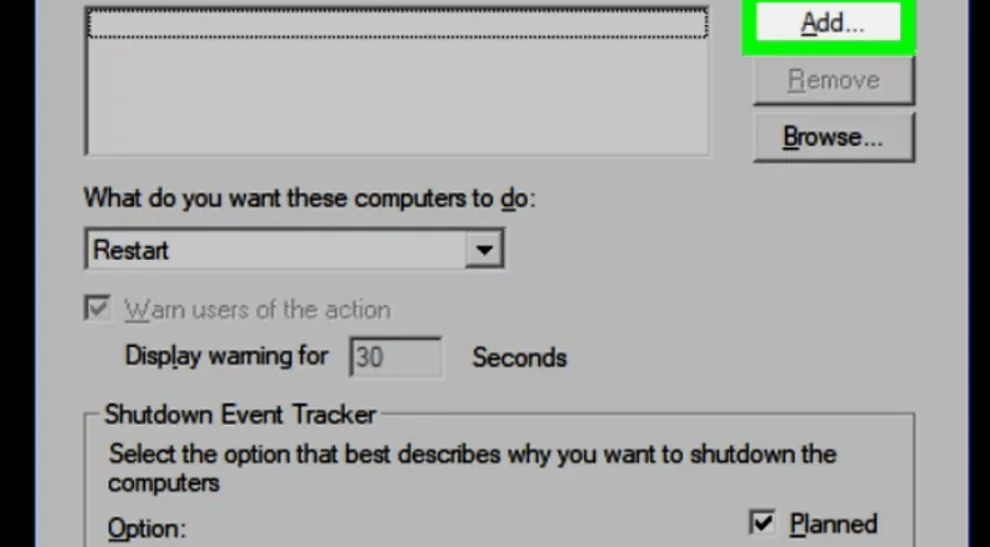
Enter the name of the remote computer in the corresponding text box. If you have not yet found the name of the remote computer, do it now (see the previous section above). Click OK.
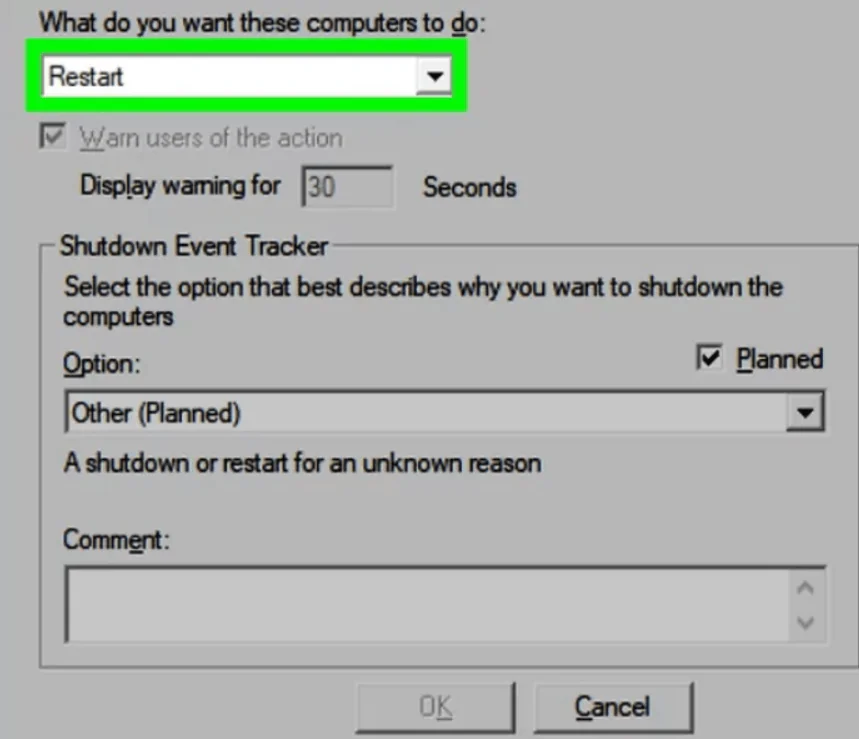
In the Select the desired action for computers section, open the drop-down menu and make sure the Restart option is selected. If necessary, check the box beside Warn users of the action, too, and input the time during which the warning will be displayed on the screen. Then click OK.