Network port numbers can provide critical information about applications that access computers over the network. Knowing the applications that use the network and the corresponding network ports, you can create precise rules for the firewall and configure the remote host computers to only allow useful traffic. In addition, active TCP/IP ports on your endpoints can indicate potential malicious activity or exposure to cyber-attacks. Getting a list of all active TCP connections on each TCP endpoint on your network is a great first step to understanding the attack surface, as well as locking down your network from future security incidents and ransomware. Information should include source and destination IP address and port, process info, and other data. This manual describes some streamlined ways to create a list of active TCP connections on Windows operating systems. Also, you will know how to with the help of PowerShell get TCP connections.
Get a List of Active TCP Connections on Domain Computers With Action1
Step 1 — Get Started for Free:
Action1 is a cloud-based solution for automated patch management, software deployment, software/hardware inventory, endpoint management, and endpoint configuration. The free version with complete functionality is available to manage up to 200 endpoints.
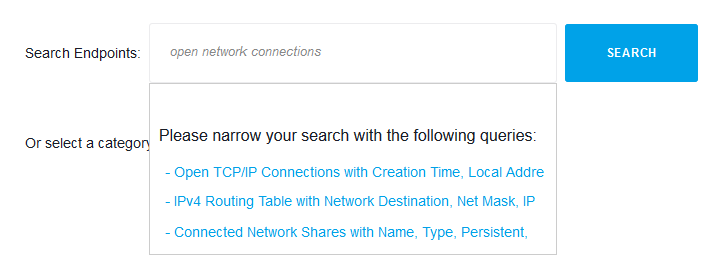
Step 2 — Type Your Question in Plain English:
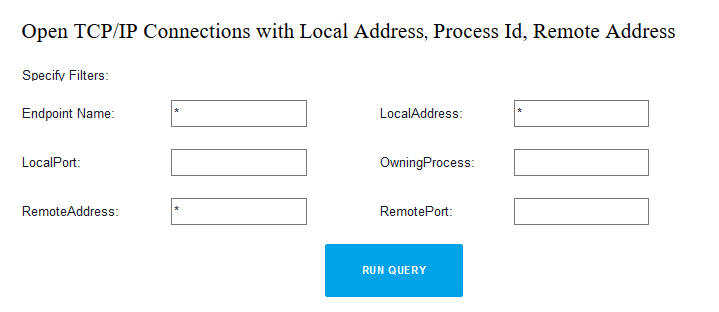
Step 3 — Set Filters, If Necessary:
Step 4 — See Results from All Endpoints in Seconds:
Endpoint Name
Local Address
Process ID
Remote Address
Get a List of Active TCP Connections on Domain Computers Manually:
1. Execute WMI Query in ROOT\StandardCIMV2 Namespace:
Launch WMI Explorer or any other tool which can run WMI queries.
Run WMI query: SELECT * FROM MSFT_NetTCPConnection
2. Run This Simple Windows Powershell Script:
Thru WMI object: Get-WmiObject -Namespace ROOT\StandardCIMV2 -Class MSFT_NetTCPConnection -Computer RemoteComputerName
3. Use Following Code to Select Specific Columns:
Execute: Get-WmiObject -Namespace ROOT\StandardCIMV2 -Class MSFT_NetTCPConnection -Computer RemoteComputerName | Select-Object RemoteAddress, RemotePort, OwningProcess, PSComputerName
4. Sort the Results Using the Line Below:
Invoke command: Get-WmiObject -Namespace ROOT\StandardCIMV2 -Class MSFT_NetTCPConnection -Computer RemoteComputerName | Select-Object RemoteAddress, RemotePort, OwningProcess, PSComputerName | Sort-Object RemoteAddress
5. The Next Code Helps to Filter Results:
Use it: Get-WmiObject -Namespace ROOT\StandardCIMV2 -Class MSFT_NetTCPConnection -Computer RemoteComputerName | Select-Object RemoteAddress, RemotePort, OwningProcess, PSComputerName | Where-Object -FilterScript {$_.RemoteAddress -like “192.168.*”}
6. Save Results to CSV File:
Run: Get-WmiObject -Namespace ROOT\StandardCIMV2 -Class MSFT_NetTCPConnection -Computer RemoteComputerName | Select-Object RemoteAddress, RemotePort, OwningProcess, PSComputerName | Export-CSV “c:\file.csv” -Append -NoTypeInformation
7. The Next Step Is to Query Multiple Computers:
Computers from a text file: Get-Content -Path c:\computers.txt | ForEach-Object {Get-WmiObject -Namespace ROOT\StandardCIMV2 -Class MSFT_NetTCPConnection -Computer $_}
Computers from AD domain: Get-ADComputer -Filter {OperatingSystem -Like ‘Windows 10*’} | ForEach-Object {Get-WmiObject -Namespace ROOT\StandardCIMV2 -Class MSFT_NetTCPConnection -Computer $_.Name}


