Table of Contents:
1. Create New File Named C:ScriptsActive_Computers.txt
2. The Next Step — Start Windows PowerShell
3. Use This Script to Delete Files
4. One More Script to Delete Files
5. Delete Files with Action1
PowerShell is an object-oriented software engine and a command-line scripting language that provides IT professionals with greater opportunities to configure the operating systems of the MS Windows family. Simply put, it is a kind of universal administration tool. This article will discuss the basic techniques for writing scripts on PowerShell, allowing you to automate the management of your Windows environment in a simple way.
PowerShell offers both a pure console interface and a full-fledged PowerShell ISE (Integrated Scripting Environment) integrated scripting environment. To launch the command line interface, enter Powershell in the Run menu (WinKey + R). PowerShell ISE is launched using the “PowerShell ISE” command in the same menu.
ISE is more preferable, because it provides more opportunities for the developer due to syntax highlighting, code auto-completion function and other features inherent in many “big” IDEs.
The following PowerShell script recipe will help you delete a remote file based on a list of computers stored in a text file. New PowerShell function will be created during the session which will be piped from the text file.
1. Create New File Named C:\Scripts\Active_Computers.txt
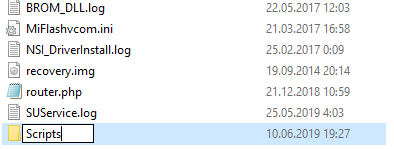
Using the keyboard, you should quickly launch “Windows Explorer.” You just need to press the keys Win + E and “Explorer” will be in front of your eyes.
Create new file directory C:\Scripts\ and file named Active_Computers.txt in this folder and populate the computer names.
2. The Next Step — Start Windows PowerShell
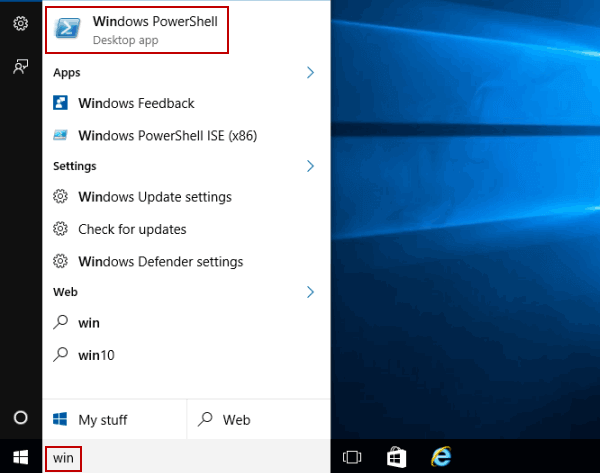
Click Start, type PowerShell, and then click Windows PowerShell. If Windows 10 is installed on your computer, then perhaps an even faster way to open PowerShell is to right-click on the “Start” button and select the desired menu item (there are two items at once — for easy launch and on behalf of the administrator). The same menu can be accessed by pressing the Win + X keys on the keyboard.
3. Use This Script to Delete Files
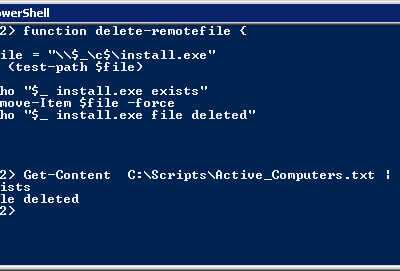
Enter the following code in the PowerShell window that appears:
4. Also, You Can Use This Script to Delete Files
You can find another script for deleting files below. The procedure is the same as the previous one.
$Computerlist = get-content C:\XXXXXXXX\Servers.txt
Foreach ($computer in $Computerlist) {
Get–ChildItem –Path \\$computer\c$\XXXXXXX\*.* –Include *.* –Recurse –Force | Remove–Item –Force
{
5. Delete Files with Action1
Action1’s intuitive dashboard helps optimize routine tasks, significantly scaling up IT productivity.
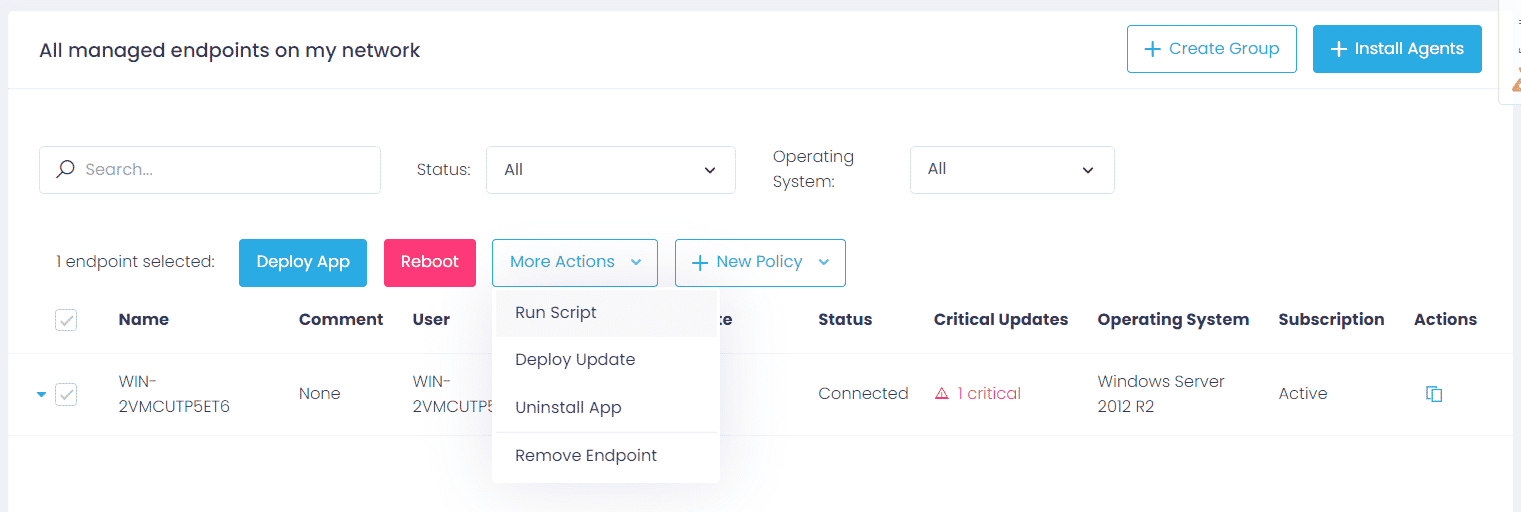
Step 1: After logging into the Action1 dashboard, in the Navigation pane (the left column), select Managed Endpoints and mark the endpoint where you want to delete files.
Step 2: Then click on the More Actions menu and select Run Script.
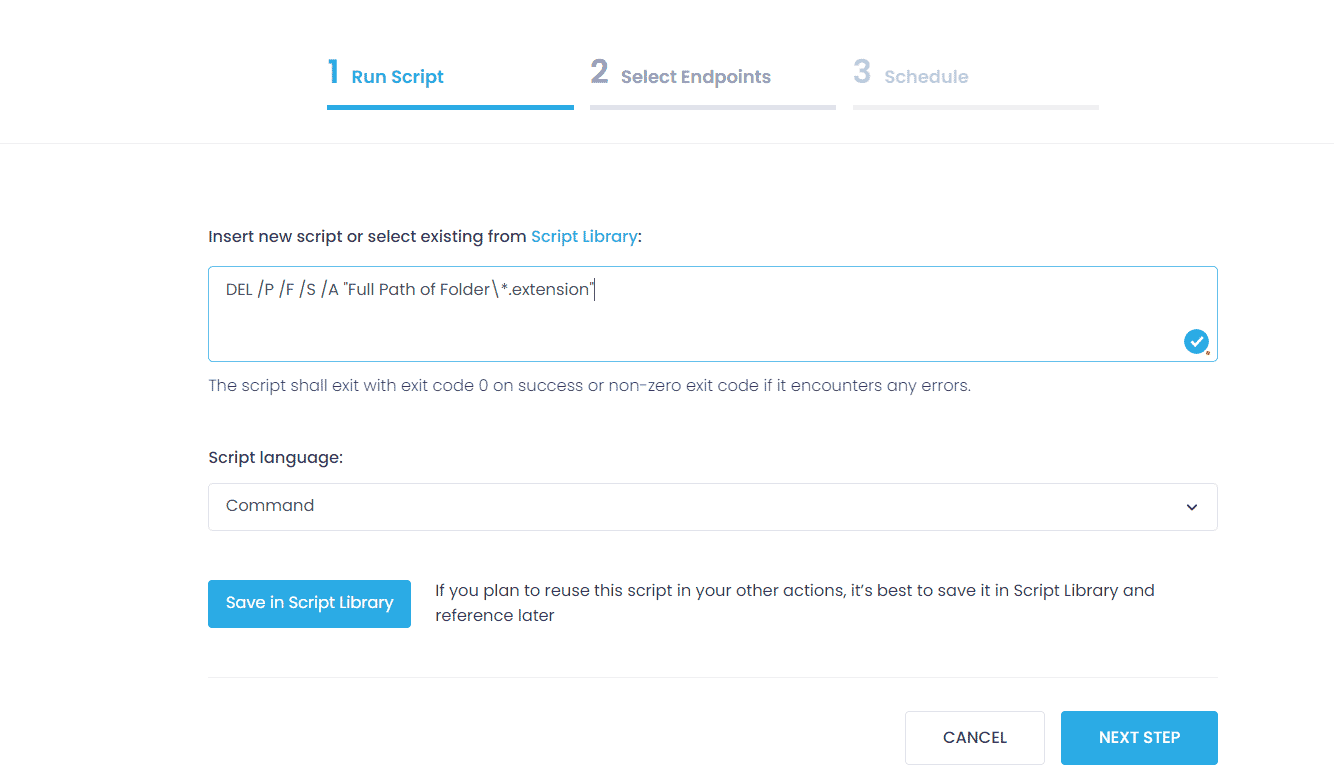
Step 3: Choose Script language and type this command to delete files:
DEL /P /F /S /A "Full Path of Folder\*.extension"
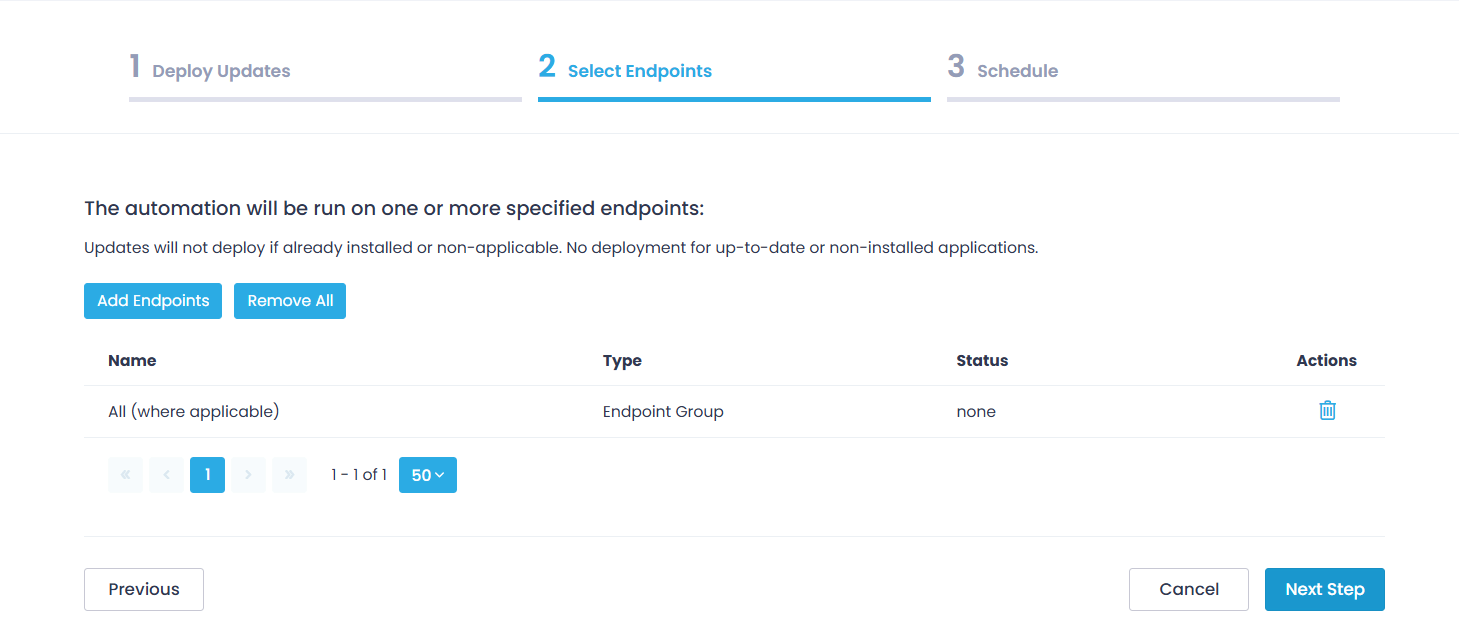
Step 4: In the Select Managed Endpoints window, you mark those endpoints on which you are going to delete files. You can add all the available endpoints or mark them one by one.
Step 5: Schedule the action (Run now/ No schedule yet/ At specific time/ Repeat) and Finish.
Consider using Action1 to delete files remotely if:
- You need to perform an action on multiple computers simultaneously.
- You have remote employees with computers not connected to your corporate network.
Action1 is a cloud-based platform for patch management, software deployment, remote desktop, software/hardware inventory, endpoint management and endpoint configuration reporting.
