Users and Roles
To enable access to Action1 entities by object or object type (for example, by endpoint or by report) and provide authorized users with required permissions within their Action1 Organization or Enterprise, Action1 offers flexible role-based access.
Role configuration and assignment ensure that only appropriate users can perform certain operations, based on your company policies and job responsibilities.
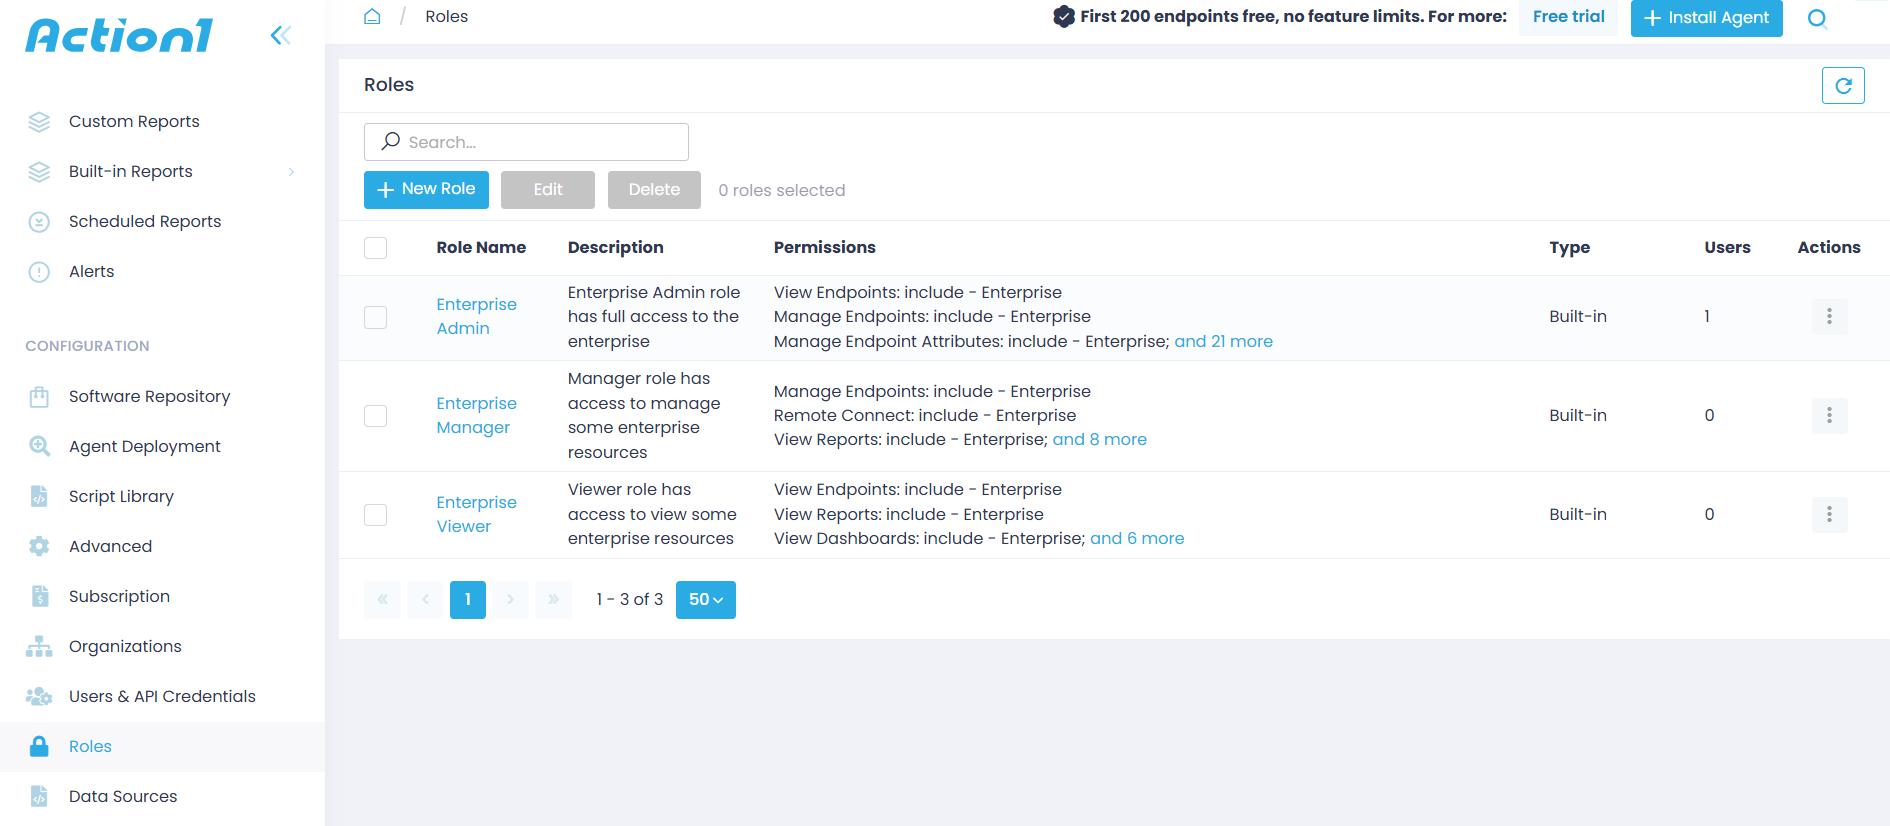
To work with the roles, in Action1 console, navigate to Configuration | Roles:
This is a global list of roles, that is, it shows all roles configured in your Action1 deployment, including all Organizations in the Enterprise.
Understanding Roles
Each role provides access to a limited scope of Action1 functionality. It enables you to grant access to data specifically needed by the user’s responsibilities and establish a “least privilege” model, that is, limit user rights exclusively to their tasks. Action1 comes with a set of built-in roles:
- Enterprise Admin – This is the most powerful, tenant-wide administration role with full access to Action1 Enterprise.
- Enterprise Manager – This role provides access for managing some enterprise resources.
- Enterprise Viewer – The least elevated role that only allows users to view some enterprise resources. Recommended for users who need read-only access to data (such as consultants or internal auditors).
All built-in roles have a pre-configured set of permissions, each defined for a certain scope (see the list of permissions for enterprise-level roles in the table below). You can use these and other permissions when creating your own custom roles. A detailed list of permissions and their scopes is provided later in this section.
Role name
Permissions
Manage Automations
Manage Data Sources
Manage Endpoints
Manage Reports
Manage Software Repository
Manage Vulnerabilities
Remote Connect
Use Scripts
View Audit Trail
View Dashboards
View Installed Software
View Reports
View Automations and History
View Dashboards
View Endpoints
View Installed Software
View Reports
View Software Repository
View Vulnerabilities
Use Scripts
Permission scope
How were my old role assignments transformed?
After your Action1 deployment is updated with the latest role-based access functionality, your former Enterprise Admin will be assigned the Enterprise Admin role, as it used to be.
Organization-level roles (Organization admin, Manager, Viewer) will be renamed accordingly and get permissions as follows:
Old role name
New role name
New permissions
Manage Automations
Manage Endpoints
Manage Organizations
Manage Reports
Manage Roles
Manage Software Repository
Manage Vulnerabilities
Remote Connect
Use Scripts
View Dashboards
View Installed Software
View Reports
Manage Automations
Manage Endpoints
Manage Reports
Manage Software Repository
Manage Vulnerabilities
Remote Connect
Use Scripts
View Dashboards
View Installed Software
View Reports
View Dashboards
View Endpoints
View Installed Software
View Reports
View Software Repository
View Vulnerabilities
Use Scripts
New permission scope
See next:
