Installation with Group Policy
GPO software installation is a way to deploy the Action1 agents on multiple workstations or servers.
To deliver Action1 agents via GPO software installation
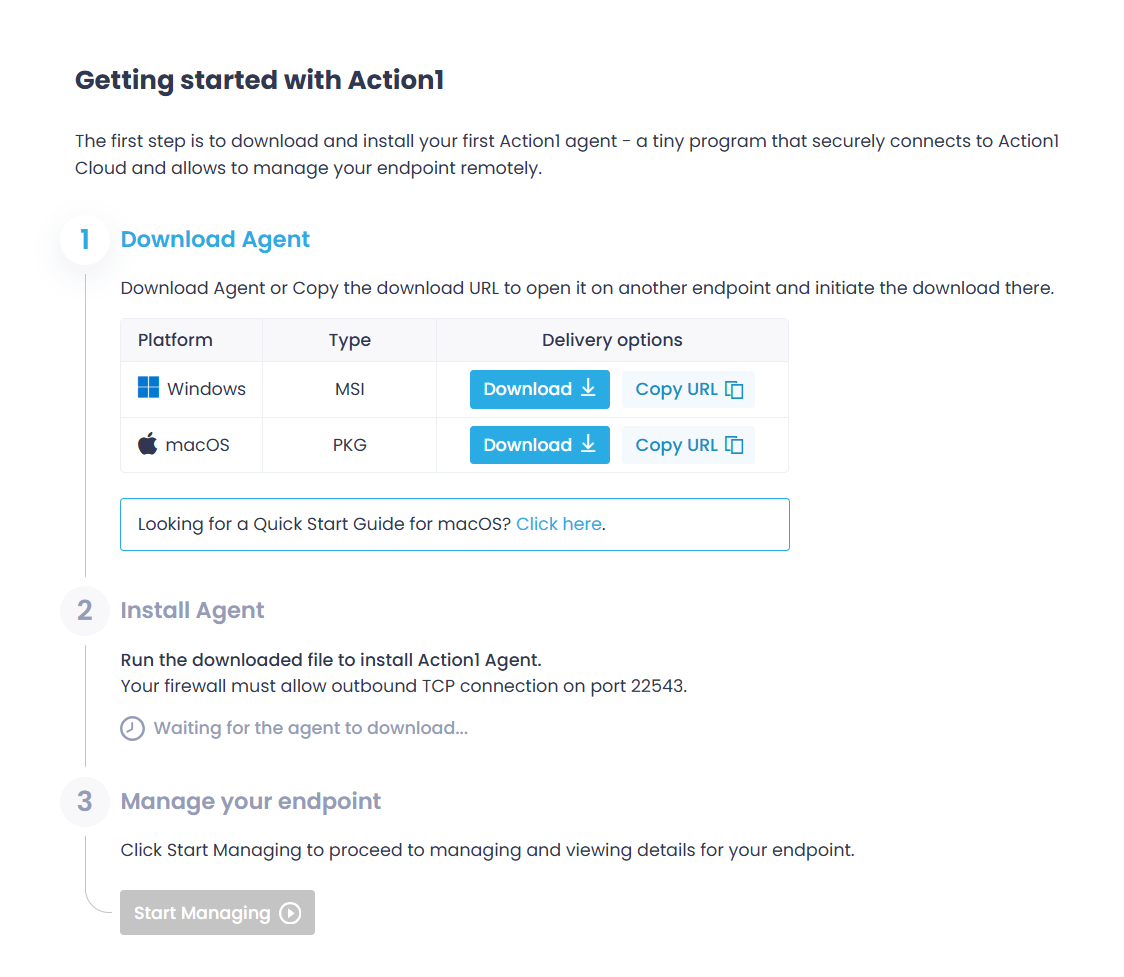
1. Navigate to Endpoints and select Install Agents to download the Action1 agent installer. Then copy it to the a folder on your domain controller that is accessible by other endpoints in your network.
- Start the Group Policy Management Console and drill down to your domain.
- Right-click it and select Create a GPO in this domain, and Link it here.
- Provide a name for a new domain policy, e.g., Action1 agent installation.
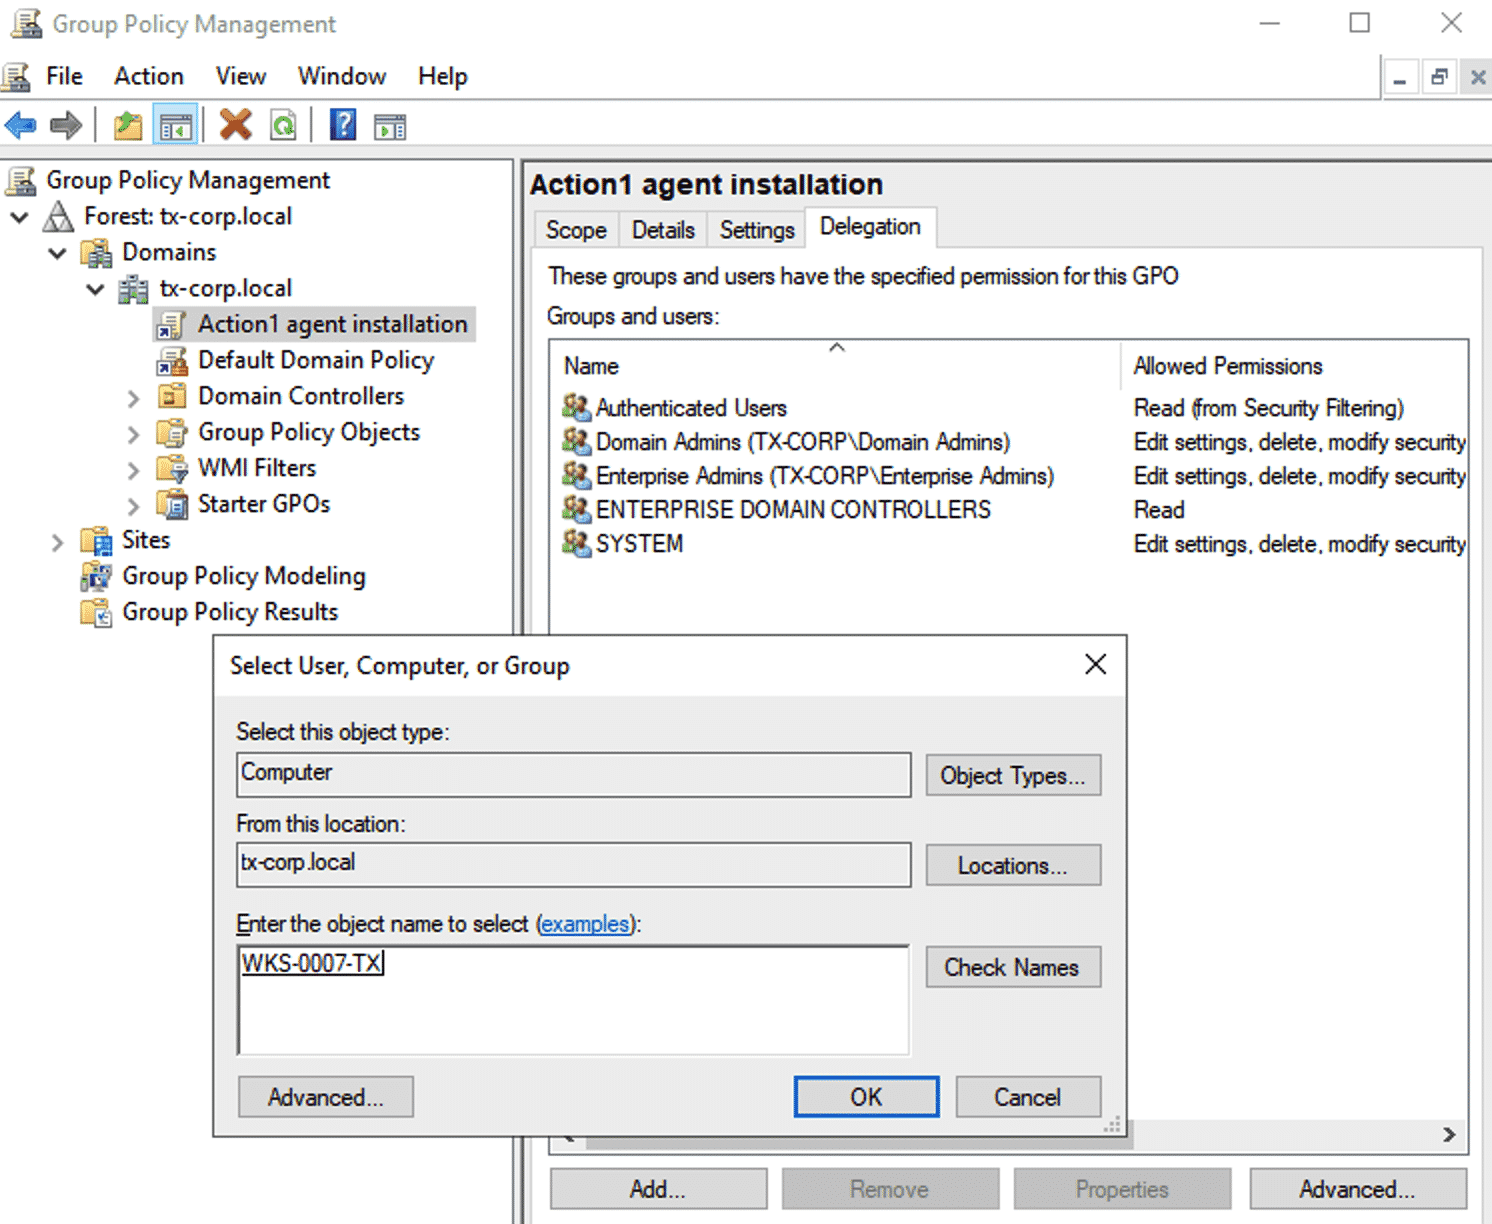
- In the policy settings, proceed to the Delegation tab. Select Add at the bottom of the screen.
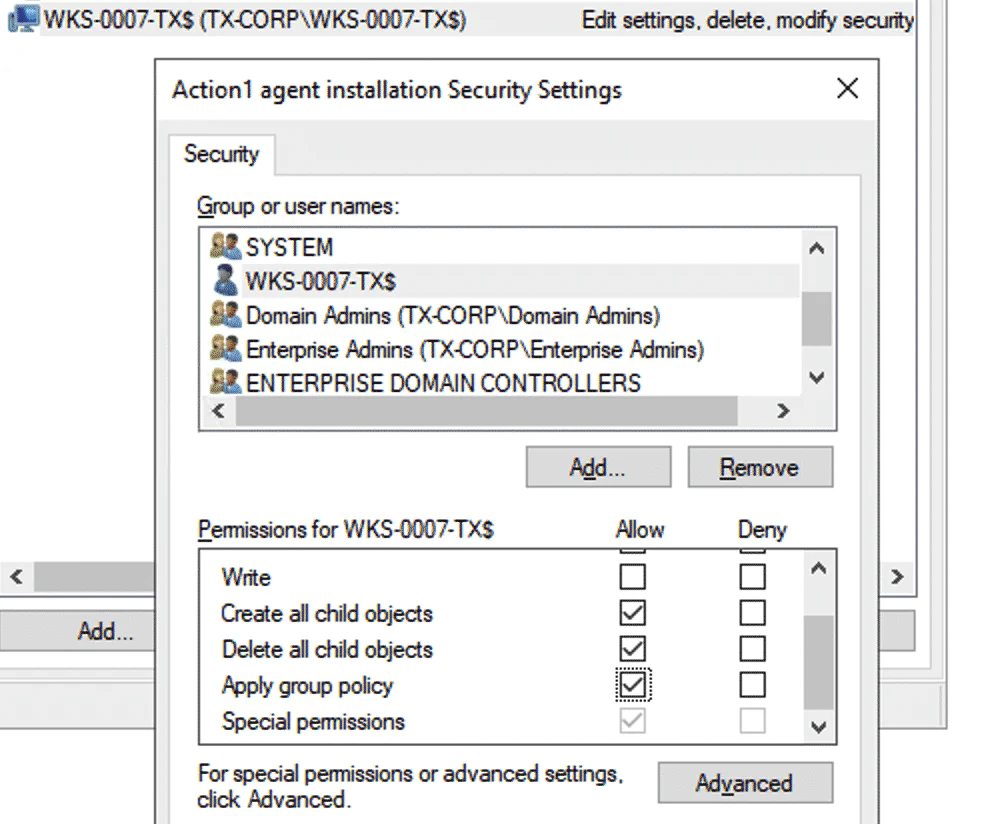
- In the Select User, Computer, or Group window, set the Object Types to “Computer”. Enter the computer name and select Check Names to look up for it. Set new group’s permissions to “Edit settings, delete, modify security”.
Note: Add all the computers where you want to install the Action1 agent.
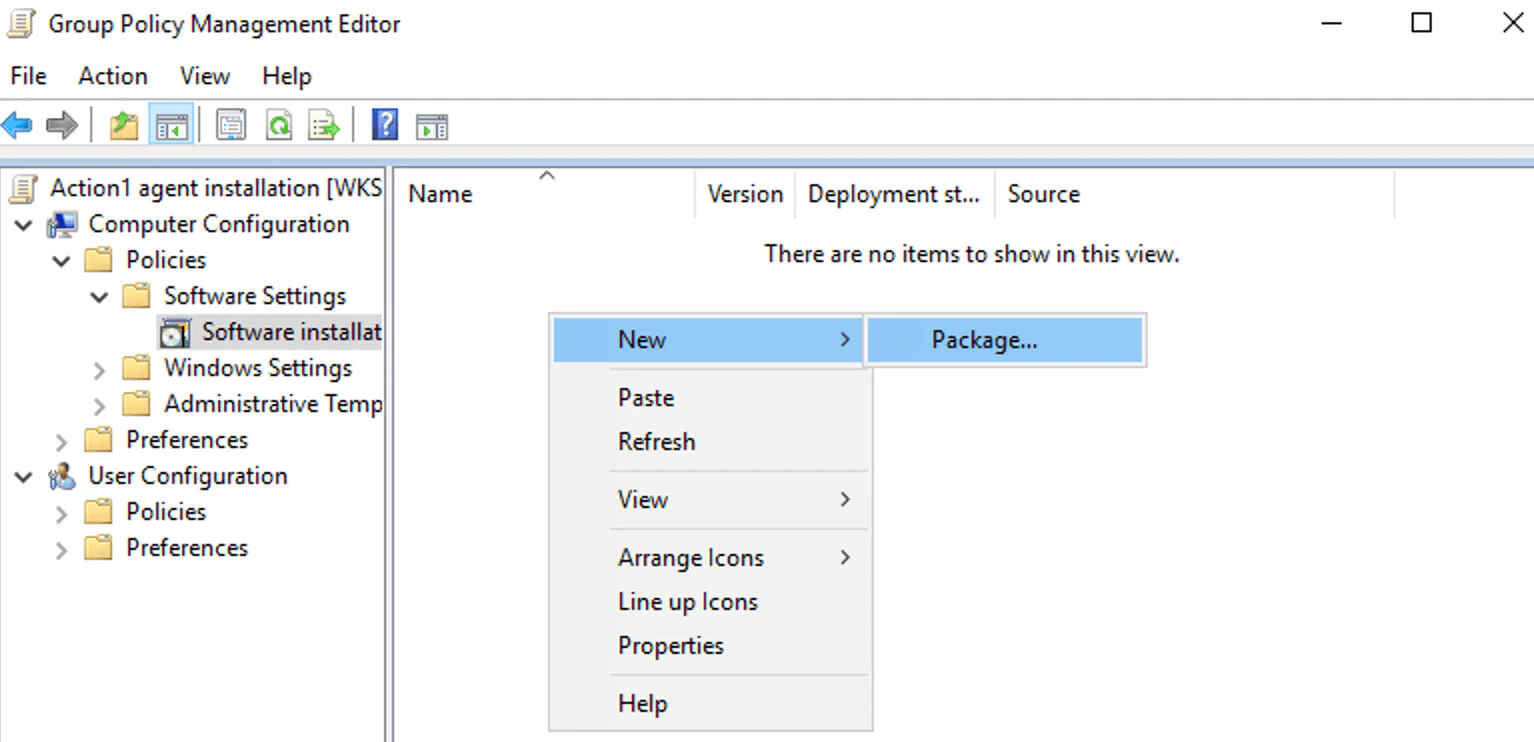
8. Right-click the newly created policy and select Edit and proceed to Computer Configuration / Policies / Software Settings.
9. On the Software installation page, right-click and select New / Package.
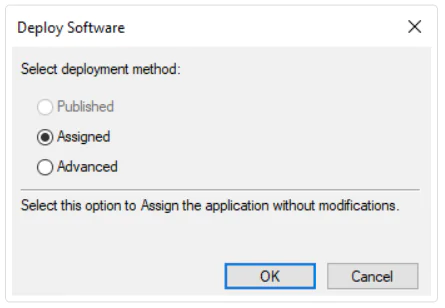
10. Select the agent MSI file. In the dialog that opens, set the deployment method to “Assigned”.
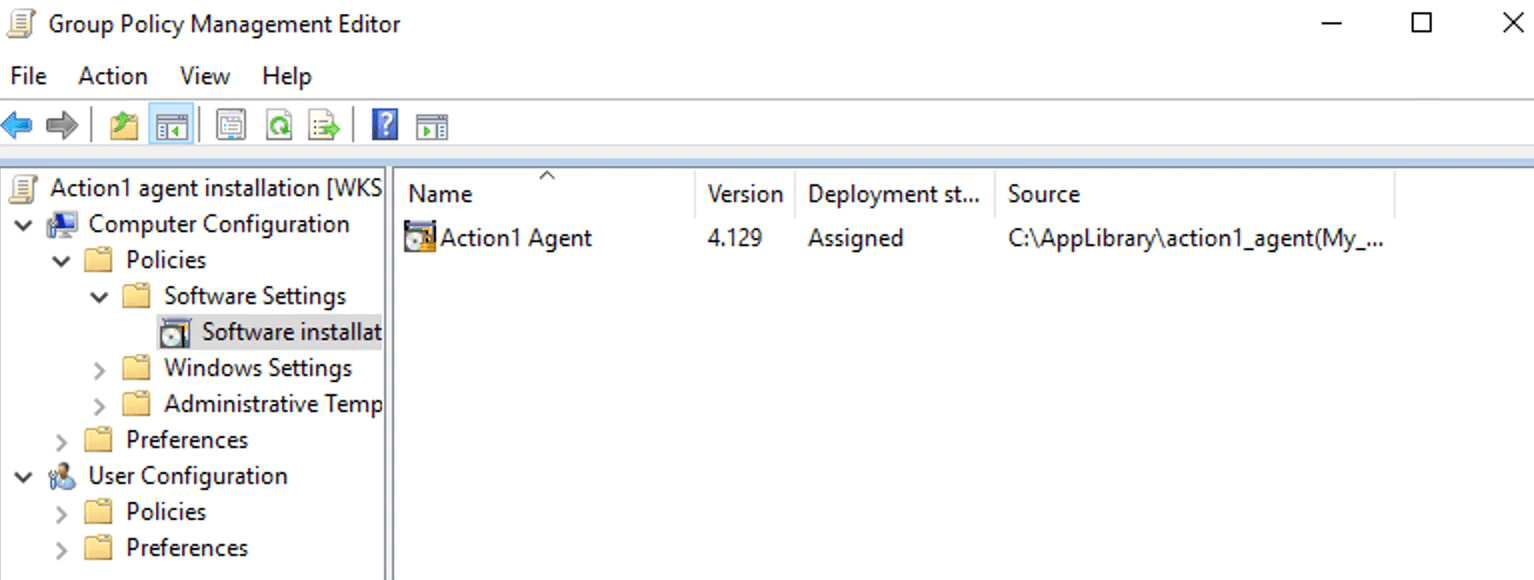
11. The newly created package will appear in the list.
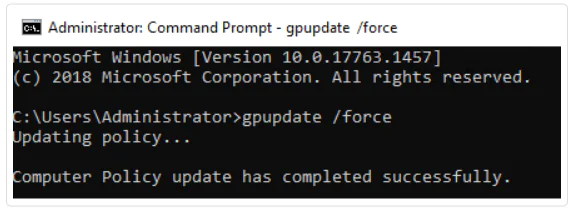
12. In the command prompt, run “gpupdate /force”. The agent will be distributed to all endpoints and devices governed by the Group Policy once they reboot.
Troubleshooting Tips:
– Check the internet connection and make sure Computer Configuration / Administrative Templates / System / Logon / Always wait for the network at computer startup and logon is set to “Enabled”.
– Increase timeout value under Computer Configuration / Policies / Administrative Templates / System / Group Policy / Specify startup policy processing wait time.
