Installation on macOS Endpoints
This section explains how to deploy the Action1 agent via Microsoft Intune on the macOS endpoints.
Stage 1: Download Action1 agent
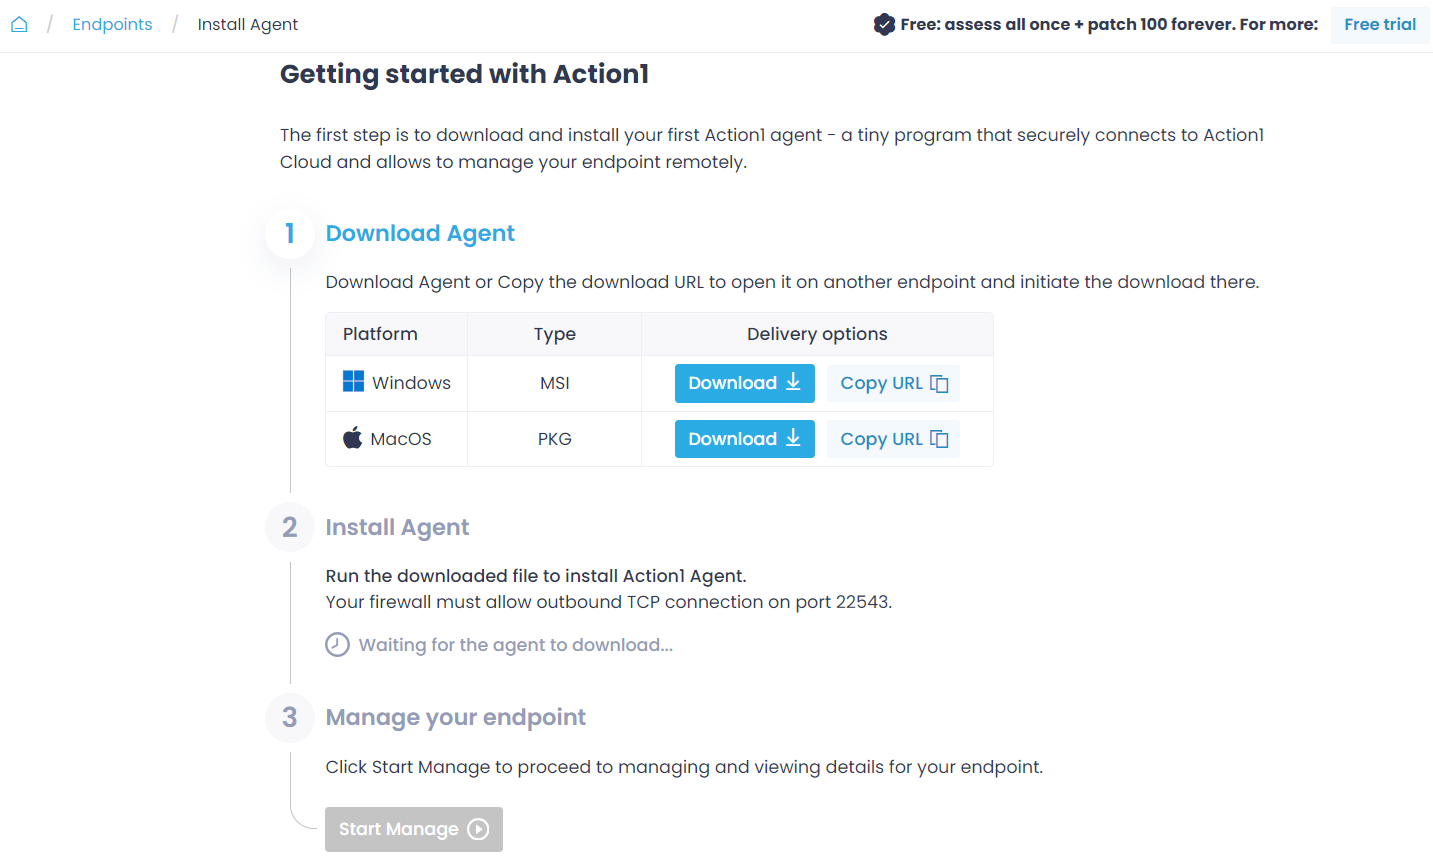
Download the Action1 agent setup for macOS from the Action1 console – but do not run it. For that:
- In the Getting Started wizard click Copy URL.
- In the dialog displayed, click Copy command and modify the command – remove its last part that begins with
&& open. - The resulting command for the agent download should look like this:
p=(pwd) && curl -o "{p}/action1_agent(My_Organization).pkg" [https://app.action1.com/agent//Mac/agent(My_Organization).pkg]
Here:
curl – cURL (Client for URL) utility for the file download.
-o – a parameter that instructs cURL to save the downloaded PKG file with the same name as in the URL.
id – a unique ID associated with a downloadable agent setup for your organization.
Stage 2: Assign deployment targets
By default, All Devices or All Users are used as deployment targets. To deploy the Action1 agent to a selection of endpoints or users other than All Devices or All Users, you should create a dedicated group that will contain the endpoints managed by Action1.
For that:
- Open Microsoft Intune admin center.
- Browse to Groups, select New Group, and configure its settings as required.
- From the Membership type list select Assigned, then add the relevant devices or users as Members.
Stage 3: Configure app deployment
- In the Microsoft Intune admin center, go to Apps and select macOS.
- Click Add, then select then select macOS app (PKG) from the list of app types.
- At the App Information step, click Select app package file and browse for the Action1 agent file you have downloaded.
Then specify the app properties using the wizard:
- At the App information step, provide the Name, Description, and Publisher.
- At the Program step, click Next.
- At the Requirements step, select macOS Monterey 12.0 from the Minimum operation system list.
- At the Detection rules step, set Ignore app version to Yes.
NOTE: If this parameter is set to Yes, this will instruct Intune to deploy the app only if it is not present on target; if the app is already installed, it will stay untouched regardless of its version. Since the Action1 agent is updated automatically through a connection to Action1 Cloud, it always has the latest version, which will not be overridden in this case.
- At the Assignments step, navigate to Required and click Add group (recommended option) to specify targets for the Aciont1 agent app deployment.
- At the Review+create step, verify the settings and click Create.
Stage 4: Verify deployment status
After you finish the wizard, wait for the Action1 agent deployment to complete.
Then you can go to Apps | macOS | macOS apps and select the Action1 agent app you have deployed. Expand Monitor | Device install status to view the deployment status – it should be Installed for the target device.
Stage 5: Prepare for system updates
To enable Action1 agent to perform system updates, on the target endpoints with Apple Silicon run the following command in the Terminal app:sudo /usr/local/action1/action1_agent enable-system-updates
When prompted, enter the admin user credentials.
NOTE: The admin credentials are needed to create an auxiliary user account, create a secure token for it, and store it in the system keychain. Such configuration is required to enable system updates. For details, see Enabling System Updates for Apple Silicon Devices.


