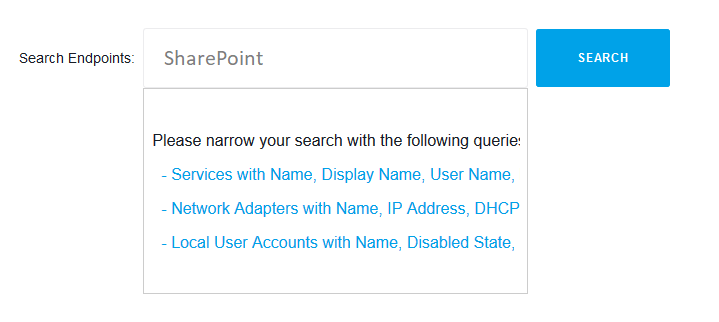
A lot of data breaches start with attacks on privileged service accounts. An important step in proactively locking the security of your corporate network is to find all SharePoint service accounts.
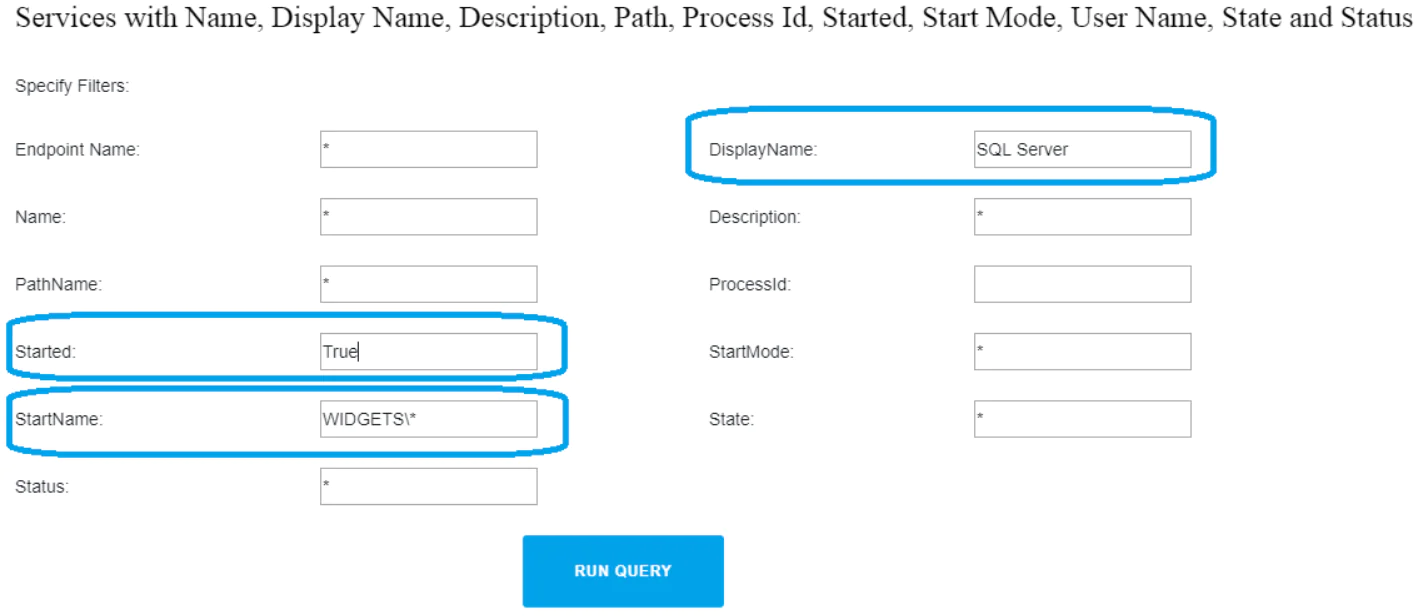
Action1 is a сloud-based patch management solution for IT administrators and MSPs. Among hundreds of other built-in features, it allows finding all SharePoint service accounts used on endpoints. After the discovery is done, you can manage service account passwords and perform other maintenance operations. This article explains how to list Exchange service accounts using Action1 to find service accounts in domain Windows server 2008 r2 or other operating systems and also shows how to list service accounts from the command line for organizations that are not able to utilize Action1 in their environments.
Manually:
1. Execute WMI Query in ROOT\CIMV2 Namespace:
- Launch WMI Explorer or any other tool which can run WMI queries.
- Run WMI query: SELECT * FROM Win32_Service
2. Open WMIC Command-line Interface:
- Press WIN+R
- Type “wmic”, press Enter
- In wmic command line tool type: /node:RemoteComputerName service
3. Run This Simple Windows Powershell Script:
Thru WMI object: Get-WmiObject -Namespace ROOT\CIMV2 -Class Win32_Service -Computer RemoteComputerName
4. Use Following Code to Select Specific Columns:
Execute: Get-WmiObject -Namespace ROOT\CIMV2 -Class Win32_Service -Computer RemoteComputerName | Select-Object DisplayName, Started, StartMode, StartName, PSComputerName
5. Sort the Results Using the Line Below:
Invoke command: Get-WmiObject -Namespace ROOT\CIMV2 -Class Win32_Service -Computer RemoteComputerName | Select-Object DisplayName, Started, StartMode, StartName, PSComputerName | Sort-Object DisplayName
6. The Next Code Helps to Filter Results:
Use it: Get-WmiObject -Namespace ROOT\CIMV2 -Class Win32_Service -Computer RemoteComputerName | Select-Object DisplayName, Started, StartMode, StartName, PSComputerName | Where-Object -FilterScript {$_.DisplayName -like “*SharePoint*”}
7. Save Results to CSV File:
Run: Get-WmiObject -Namespace ROOT\CIMV2 -Class Win32_Service -Computer RemoteComputerName | Select-Object DisplayName, Started, StartMode, StartName, PSComputerName | Export-CSV “c:\file.csv” -Append -NoTypeInformation
8. The Next Step Is to Query Multiple Computers:
Computers from a text file: Get-Content -Path c:\computers.txt | ForEach-Object {Get-WmiObject -Namespace ROOT\CIMV2 -Class Win32_Service -Computer $_}
Computers from AD domain: Get-ADComputer -Filter {OperatingSystem -Like ‘Windows 10*’} | ForEach-Object {Get-WmiObject -Namespace ROOT\CIMV2 -Class Win32_Service -Computer $_.Name}


