Choosing Entra ID by default
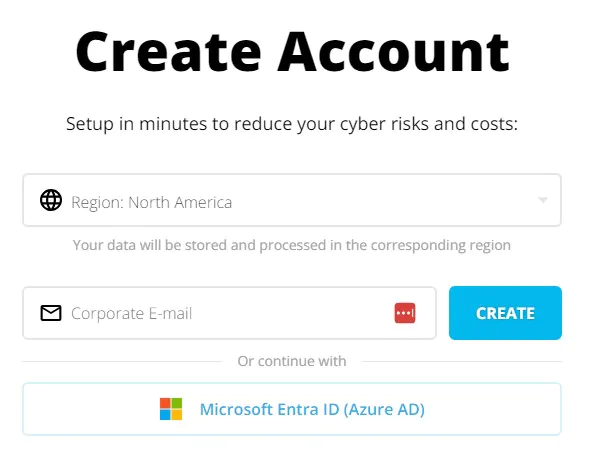
When you sign up for Action1, you are offered two options: create an Action1 account or use an existing account in your organization’s Entra ID (formerly Azure AD):


Switching to Entra ID from previously created Action1 accounts
If you chose to create an Action1 account while signing up and then decide to use Entra ID, you have to follow the below steps to make a switch:
-
- Login to Action1 using your Action1 credentials (do not click Microsoft Entra ID during login)
- Go to Configuration | Advanced | Single sign-on settings and click on ‘Identity Provider
- Replace ‘Action1’ with ‘Entra ID’ and click ‘Save’. Do not change the scope (it has to be Enterprise). With this setting changed, all new Action1 users will use Entra ID.
- Navigate to Configuration|Users – Please note for the next steps, do not remove your last enterprise admin account, please create a secondary enterprise admin or elevate another user to the enterprise admin role. Failure to do so could lead to admin account access being lost. Note the next steps will delete user accounts in order to switch to Entra ID, Users will be unable to access Action1 until their user account migration is complete.
- – Find the user account you want to switch to Entra ID and click ‘Delete’ in the Actions context menu:

-
- Note you may receive the following error message:

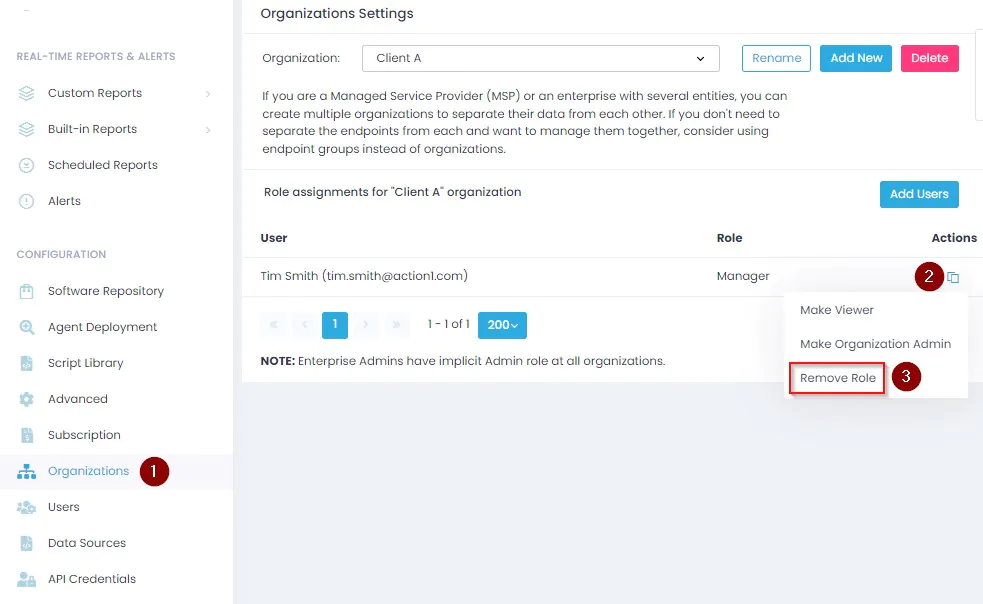
If this error is received, you will want to go into your organizations list and remove all listings of that user from all organizations (example below).

-
- If the above optional steps were needed, you can then go back you and delete the user from your user list (see Configuration | Users).
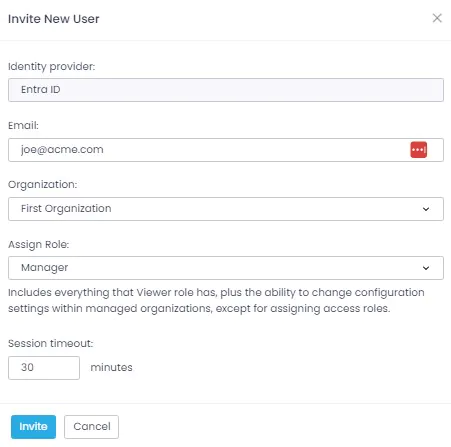
- Now you will want to invite the user again into Action1 via Configuration | Users – They will now be invited via Entra ID.


